Cooling Tech Microscope Software Download
Read about 'MICROSCOPE, DIGITAL, USB, 5X-500X, o/c 2319418,BW1008-500X, driver, manual & software' on element14.com. DURATOOL - BW1008-500X - MICROSCOPE, DIGITAL, USB, 5X-500X Image is for illustrative purposes only. Please refer to product description. Thank you for Purchasing our $10-1000X Digital Microscope, it is a. Pls purchase Depstech USB to USB-C/ Mi cro USB adapters, download 'Depstech. Welcome to the InstallShield Wizard for COOLING TECH SOFTWARE R&D.
• S04-600X Digital Microscope User Manual repared by oolingtech Engineering Dept. 2011.10.1 1/28. Jewelry & coin (Collections) inspection 9.
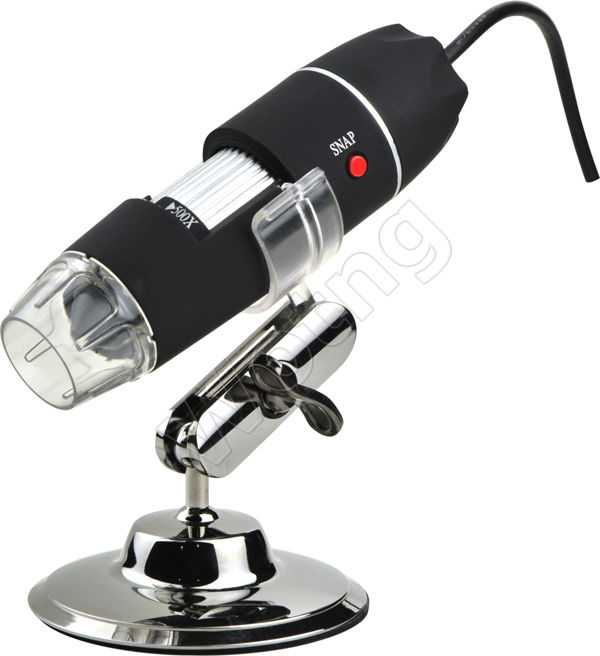
Visual Assistance 10. Others Digital Microscope(S04-600X) must be connected to the computer,User interface is very friendly and you can do the Measure work easily. You can find more information of the product on this manual. • oolingTech Parts of Microscope ① ② ③ ④ ⑤ ⑥ ⑦ ① LED Light ② Lens ③Magnification 25X~600X ④ Focus Roller ⑤ SNAP & Zoom Switch ⑥ Body ⑦ USB Line Specification Image CMOS Sensor Controller High Speed DSP (Driver Free available) Focus Range 0mm ~ 40mm Snap Shot Software and Hardware Video Capture Resolution 1.3M. • oolingTech Power Supply USB Port ( 5V DC ) USB 2.0 & USB 1.1 Compatible Operation System Windows XP, Vista, Win 7 32 bit and 64 bit. Language: English, Chinese and other language by selection System Requirement: Pentium Computer with 700M Hz & above, 20M HD Space CD ROM Driver, 64MB RAM, Direct X VGA Card CD disk Driver and Micro-Measurement Tool Product dimension 112 mm ( L ) X 33 mm ( R ) • USB1.1.
How to install the Driver S04-600X Digital Microscope is a free Driver Product, it can works immediately after being connected to the computer with operation system above win2000 version. Connect the Digital Microscope by USB2.0 cable to your computer, Double-click ‘my computer’. • oolingTech 1. Driver installation 1Click to continue, the screen will show the installation progress. • oolingTech Click “next” to continue,as followings: Click “next” to continue,as followings: 7/28. Test pdo lichko projti onlajn.
• oolingTech Click “continue Anyway”, as followings: Click “Finish” to continue,as followings 8/28. • oolingTech Select ’Yes, I want to restart my computer now’, and click “finish”. After restart your computer, Plug-in the USB port of Digital Microscope into Computer USB port. Following the user guide by steps and complete by click “Next” -> “Continue anyway” -> “Finish”. • oolingTech When Drive are installed, icon will appear on the desktop. Double-click it 10/28. • oolingTech 6 Interface ` T oolbar Preview Area 11/28.
• oolingTech 7 Tool bar instroduction 1 Click 'Set capture This equipment has video and photo function. Before video and photo Please click file folder path' 'Set snapshot file path' to set the file storage area. 2 Click You can select the different equipment according to your request if your computer has two video equipment or more 3 Click 1 Click“Video capture filter”. • oolingTech Video parameters setting,you can change some values according to your request, Do not recommend to make some changes because the parameters has been adjusted to best form before leaving factory If the values are changed negligently,and click 'default' to recover the factory shipped state. • oolingTech For example: “Object tracking ” “ Scale” in the yellow form 2 Click “video capture pin.” You can set the different output size according to your request 4 Click Photo and Video setting 14/28. • oolingTech “Still Image capture” “still capture Size” Select Video Format AVI。 15/28. • oolingTech 2 Measurement installations: 1 Click to continue, as followings 16/28.
• oolingTech 2 Click “next” to continue, as followings 3. Click “next” to continue, as followings 17/28. • oolingTech 4. Click “next” to continue, as followings 5. Click “next” to continue, as followings 6 Click “Install” to continue, as followings 18/28. • oolingTech Wait a few seconds while the installation taking place.
7.Click “Finish” and the installation completes. • oolingTech 8.After the installation completes, double click at computer desktop to start using the software. Plug-in the devices, Display in operation window 20/28. • oolingTech 9 Click,open the operation system Choose the Image resolution from 320*240 to 1600*1200, default at VGA Mode640*480 10 Click to use measurement function. • oolingTech 11 Click to open pictures, and click to save pictures Video PLAY(Pause),STOP Image Parameter including Image setting and special effects 22/28. • oolingTech Magnifier 16 Click Ruller, as followings 17 Click start calibration make sure certain accuracy.